How to Prep Your Listing For Photos
About the Author: Alex Schnell

Preparing your listing for a photo shoot is crucial to ensure that the property is presented in the best possible light. By taking the time to properly prep your listing, you can create an inviting and appealing space that attracts more buyers and helps your property stand out. This will also allow your photographer to work with precision and focus during the photo shoot, ensuring that the most important details are captured effectively. Here’s how to get your listing photo-ready.
Declutter and Depersonalize
One of the most important steps in preparing your listing for photos is to declutter and depersonalize the space. Cluttered rooms can make the property feel smaller and less inviting, while personal items such as family photos or unique decor can distract buyers from the features of the home. Clear surfaces, remove excess furniture, and store personal belongings out of sight. The goal is to create a neutral, clean slate that allows buyers to imagine themselves living in the space.
Clean and Refresh the Space
A clean home is a must for any photo shoot. Before your photographer arrives, take the time to thoroughly clean the entire property, paying special attention to kitchens, bathrooms, and other high-traffic areas. This includes wiping down countertops, polishing appliances, vacuuming carpets, and mopping floors. Freshen up the space by opening windows to let in natural light, adding a few tasteful plants, and perhaps placing a bowl of fresh fruit on the kitchen counter. These small touches can make a big difference in the overall presentation of the home.
Optimize Lighting
Lighting plays a crucial role in how your property will appear in photos. To ensure the best results, open all curtains and angle blinds open to let in natural light. Natural light enhances the colors and textures of the space, making it feel warm and inviting. However, be mindful of the time of day when scheduling your shoot—your photographer can help you determine the best time of day for the property. Additionally, turn on all lights in the home, including lamps and overhead fixtures, to brighten up darker areas.
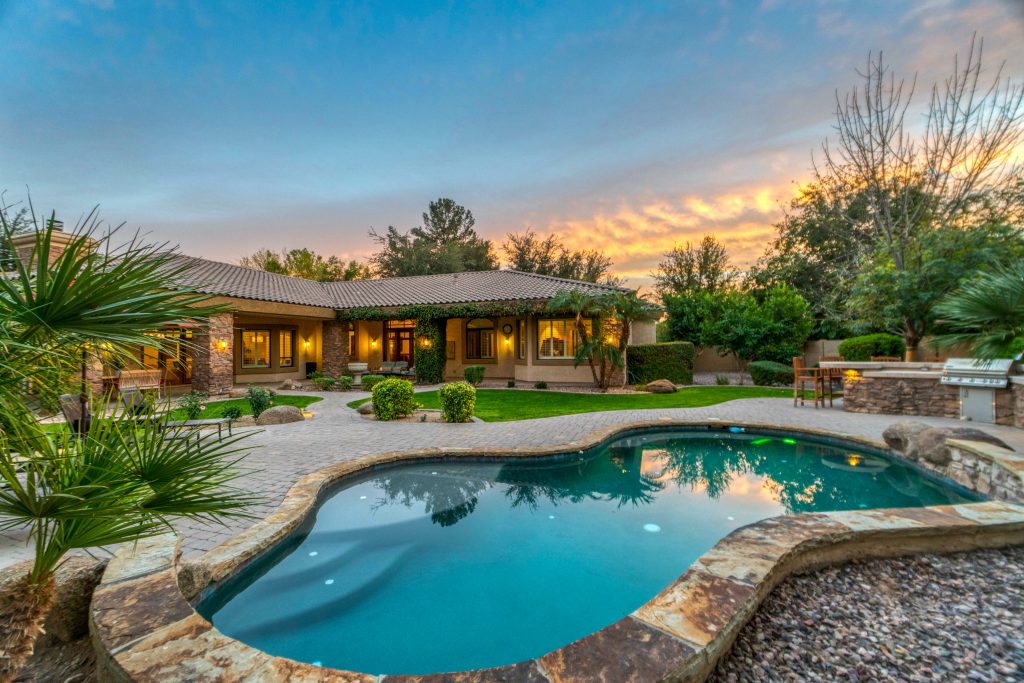
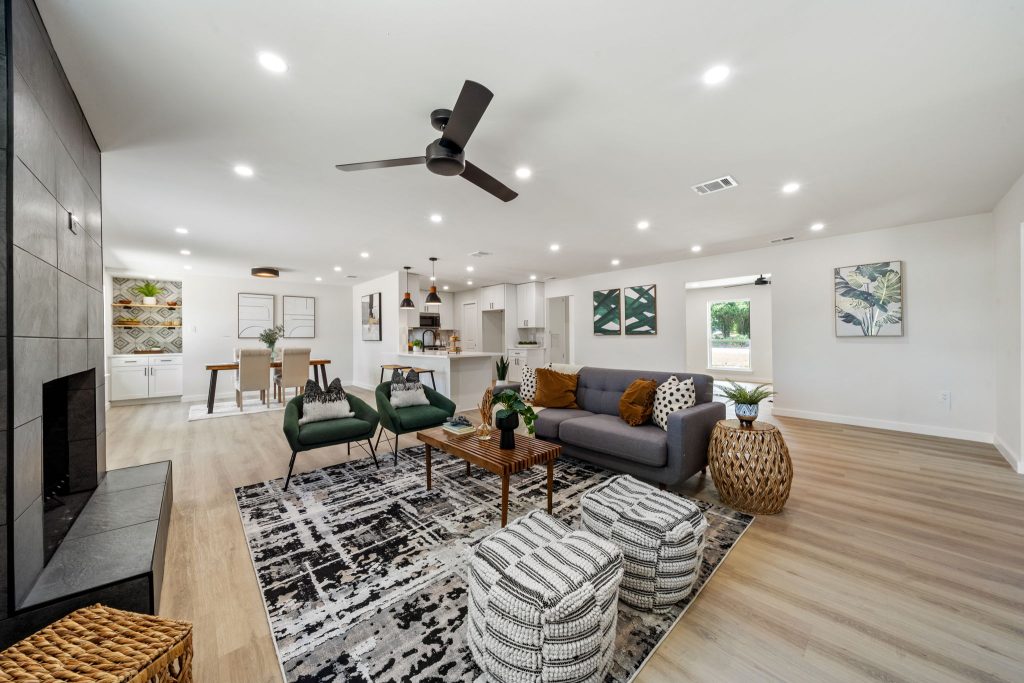
Highlight Key Features
Before the shoot, consider which features of the home you want to highlight. Whether it’s a spacious living room, a beautifully renovated kitchen, or a stunning backyard, make sure these areas are styled to perfection. Remove any distractions and arrange furniture to maximize the flow and function of the space. For example, in the living room, fluff the pillows and neatly arrange them on the sofa, and in the kitchen, clear the countertops to showcase the available workspace. The goal is to make these standout features as attractive and inviting as possible. For recently renovated spaces, or areas with important fixtures and design elements, consider adding detailed shots to highlight them.
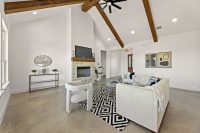
Consider Professional Staging
For properties that need an extra boost, physical or virtual staging can be a game-changer. Staging helps to create a cohesive and appealing look throughout the home, using carefully selected furniture and decor to enhance the property’s best features. A well-staged home can help buyers see the full potential of the property, making it easier for them to envision living there.
Ready to schedule your listing photos? Square Foot Photography offers professional real estate photography services across the state of Texas! Our team is available 6 days a week with next day turnaround.